
Before You Sign a Lease: A Room-by-Room Apartment Inspection Checklist

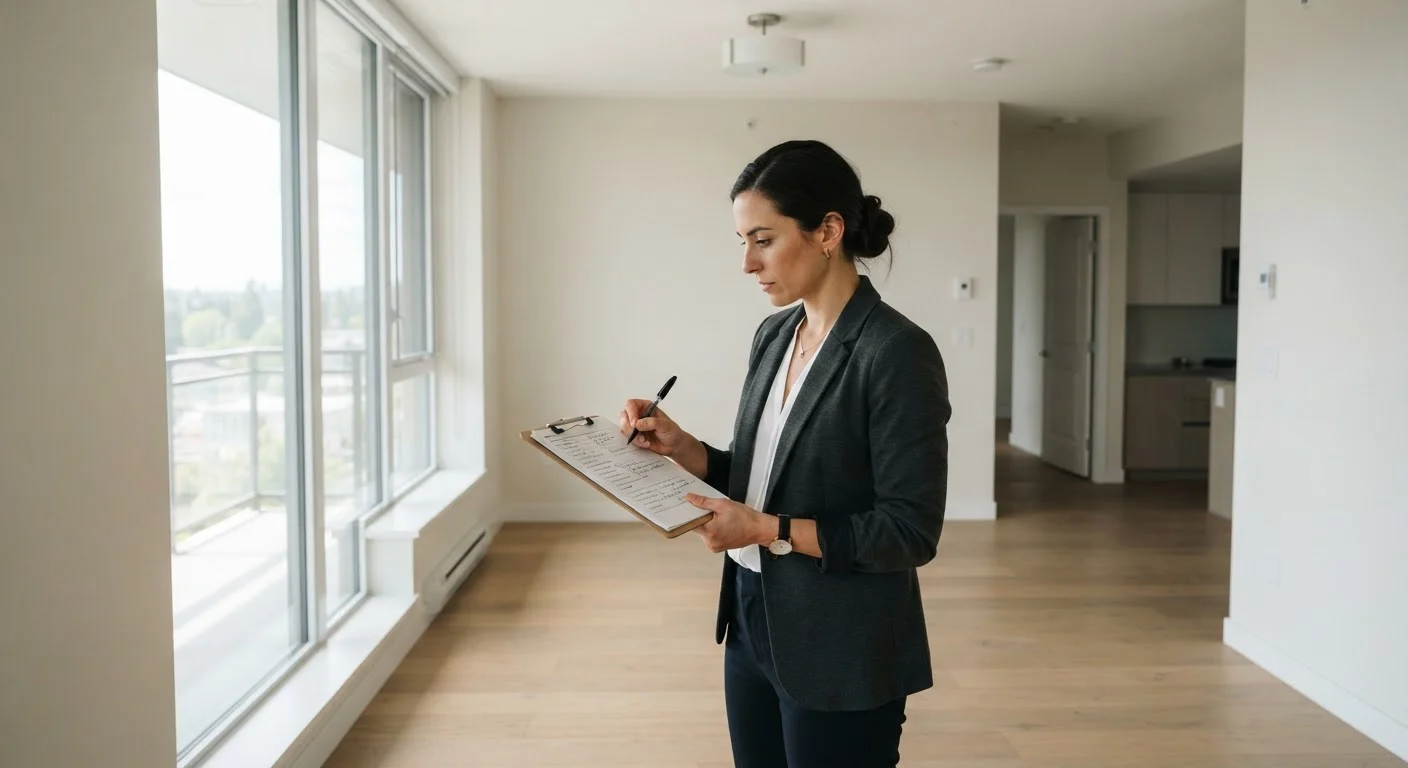
Photo: TargetReads.com | Explore Engaging Reads editorial
Key Takeaways
- Documenting existing damage before move-in is your strongest protection against wrongful security deposit deductions.
- Photograph every item you note on your checklist and timestamp the images.
- Test every fixture, outlet, appliance, and lock during your walkthrough — not after you've signed.
- Request written acknowledgment from your landlord of any pre-existing damage you document.
- Renters insurance is a separate but equally important layer of protection once you move in.
Why a Pre-Move-In Inspection Matters
Security deposit disputes are one of the most common conflicts between renters and landlords. In many states, landlords are legally required to return your deposit — minus documented deductions for damage you caused — within a set window after you move out. The problem is that "damage you caused" is easily misapplied when no one recorded what the apartment looked like before you arrived.
A room-by-room inspection gives you a timestamped paper trail. It shifts the burden of proof and protects money that is rightfully yours. Bring this checklist to your walkthrough, photograph everything, and send a copy to your landlord in writing before or on the day you sign.
Before the walkthrough, consider what else needs to be in place once you move in. Review your insurance coverage to make sure renters insurance is part of your plan — it covers your belongings, not the building, and your landlord's policy won't protect you.
Also take a moment to understand what you're agreeing to. Reading a lease agreement carefully before signing helps you spot clauses that could affect how damage disputes are handled.
Don't Rely on Verbal Assurances
What to Bring and How to Document
Arrive at your walkthrough prepared with the following:
Smartphone with camera
Capture timestamped photos of every room and any noted damage.
Printed or digital inspection checklist
Record findings room by room in a structured format you can share with the landlord.
Small phone charger or outlet tester
Quickly verify that wall outlets are live without relying on your eyes alone.
Flashlight
Illuminate dark corners, inside closets, and under sinks where damage is easy to miss.
Email or messaging app
Send your completed documentation to the landlord immediately after the walkthrough to establish a dated paper trail.
As you move through each room, photograph walls, floors, ceilings, fixtures, and appliances from multiple angles. Use a notes app or a printed form to record your findings. Note the exact location of any issue — "north wall of bedroom, scuff at knee height" is more useful than "bedroom wall." Date every photograph. When the walkthrough is complete, share your documentation with the landlord via email so there is a written record of when you submitted it.
Room-by-Room Checklist
Work through the apartment systematically. Don't skip rooms because they look fine at first glance — water damage behind a door or a non-functioning outlet under a counter are easy to miss and expensive to be blamed for later.
Walls, Floors & Ceilings
Doors, Windows & Locks
Kitchen
Bathroom(s)
Electrical & Lighting
Safety Equipment
Always Keep a Copy of Your Documentation
After the Walkthrough
Once you've completed every room, compile your notes and photos into a single document. Some landlords provide a move-in inspection form — if yours does, fill it out thoroughly and keep a copy for yourself. If no form is provided, write up your own summary and send it to the landlord via email, requesting a written response acknowledging the pre-existing conditions you noted.
If the landlord disputes items you've documented, don't proceed to signing until the discrepancy is resolved in writing. Verbal agreements about repairs or damage are difficult to enforce later.
Finally, remember that inspection documents protect you at move-out, but they don't cover everything that can go wrong during your tenancy. Moving costs can also add up faster than most renters expect — hidden moving expenses like utility deposits, elevator fees, and parking permits are worth budgeting for in advance.
The content on this site is for informational purposes only and is not a substitute for professional advice. Always consult a qualified professional for guidance specific to your situation.