
Setting Up a Home Network from Scratch

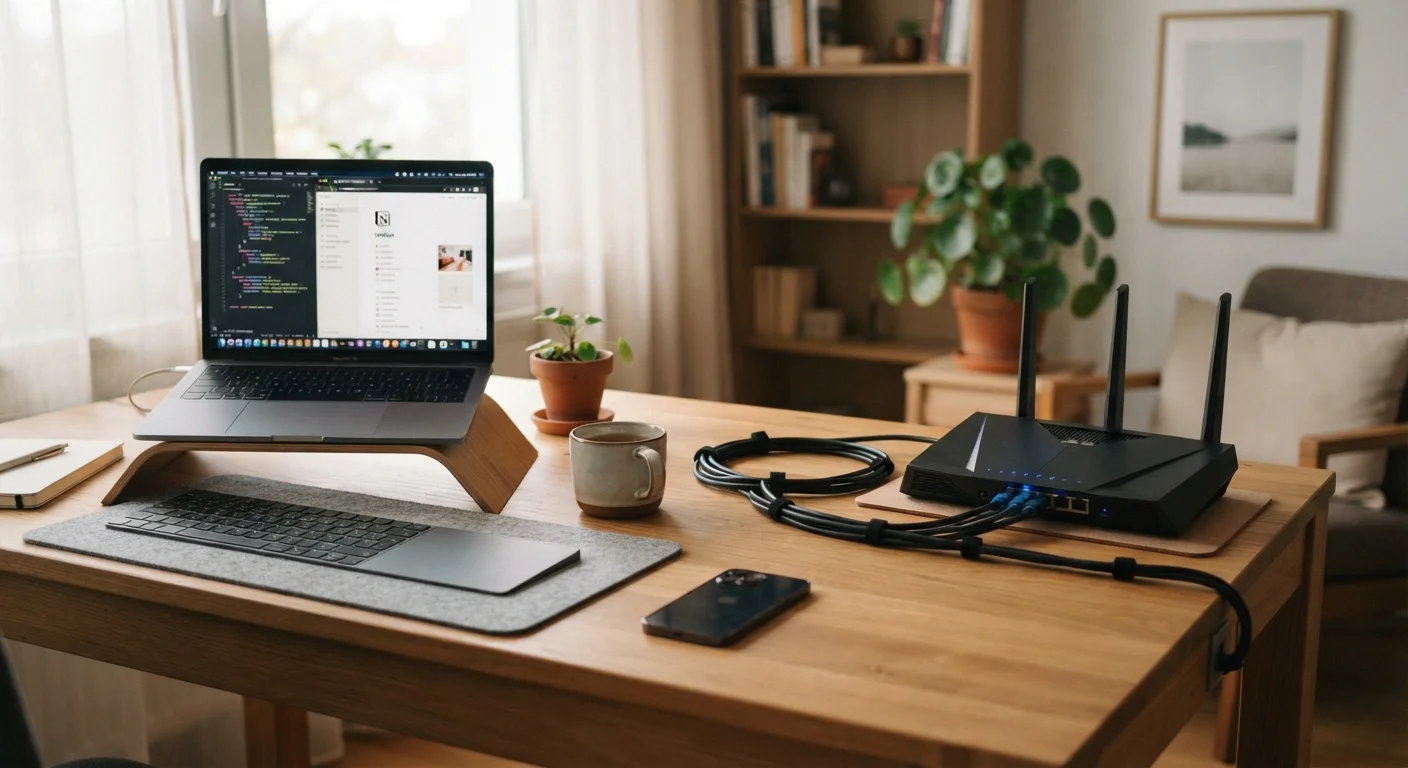
Photo: TargetReads.com | Explore Engaging Reads editorial
Key Takeaways
- Modem placement and router positioning significantly affect Wi-Fi signal quality throughout your home.
- Separating your network name and password from the defaults is one of the most important setup steps.
- Most home networks can be set up without calling a technician if you follow the right sequence.
- A 5 GHz band offers faster speeds while 2.4 GHz reaches farther — choose based on device location.
- Once live, securing your network is an ongoing habit, not a one-time task.
What You Need Before You Start
Setting up a home network for the first time is more straightforward than it may seem — but having the right equipment and information ready before you begin saves significant time. The two core pieces of hardware are a modem (which connects your home to your ISP) and a router (which distributes that connection to your devices). Many ISPs provide a combined gateway that does both; check your service agreement to see what was included.
What you will need
If you're unsure whether to use a traditional router or a mesh system for a larger or multi-floor home, the comparison between mesh Wi-Fi and traditional routers can help you decide before purchasing hardware.
Modem or Gateway Device
Connects your home to your ISP's network and translates the incoming signal into usable internet.
Wireless Router
Distributes the internet connection wirelessly to all devices in your home.
Ethernet Cable (Cat5e or Cat6)
Creates a wired connection between the modem and router, and can link devices directly for faster speeds.
Smartphone or Laptop
Used to access the router's admin panel and complete initial configuration.
Power Strip with Surge Protection
Protects your modem and router from power surges that can damage hardware.
Step-by-Step Setup Instructions
Follow these steps in order. Each builds on the previous one, so skipping ahead — especially past the modem initialization phase — is a common source of early trouble.
Position Your Modem and Router
Place your modem near the coaxial or phone jack your ISP uses to deliver service — you typically cannot change this location. Your router, however, should be positioned as centrally as possible in your home, elevated off the floor, and away from thick walls, microwaves, and other electronics that can interfere with the signal.
If your ISP provided a combined gateway device (modem and router in one unit), placement still matters — central and elevated wins every time.
Connect the Modem to Your ISP's Line
Plug the modem into the wall jack using the appropriate cable — coaxial (a round threaded connector) for cable internet, or a phone line for DSL. Then connect the modem to a power outlet and wait for it to fully initialize. Most modems show a sequence of indicator lights; consult the included guide to confirm it has successfully connected to your ISP's network before moving on.
Connect the Router to the Modem
Using an ethernet cable, connect the modem's output port (often labeled LAN or Ethernet Out) to the router's WAN or Internet port. These ports are typically color-coded or clearly labeled. Power on the router and wait for its indicator lights to stabilize — usually one to two minutes.
Access the Router's Admin Panel
On your laptop or phone, connect to the router's default Wi-Fi network — the name (SSID) and temporary password are printed on a label on the router itself. Then open a browser and type the router's default admin address into the address bar. Common addresses are 192.168.1.1 or 192.168.0.1; your router's label or manual will confirm the correct one.
Log in using the default admin credentials — again, printed on the device label. You'll now be inside the router's configuration interface.
Set a Custom Network Name and Password
Navigate to the wireless settings section and change the default network name (SSID) to something you'll recognize — but avoid including your address or full name. Then set a strong, unique password using a mix of letters, numbers, and symbols. Most routers let you configure both a 2.4 GHz network (longer range, lower speed) and a 5 GHz network (shorter range, higher speed) — you can give them different names to make device management easier.
Change the Admin Login Credentials
Still inside the admin panel, locate the section for administrator account settings and change the default username and password. Default credentials are publicly known and leaving them unchanged makes your router a simple target. Store your new admin credentials somewhere secure — a password manager or a written note kept in a safe place.
Update the Router Firmware
Within the admin panel, look for a Firmware or Software Update section. Check for and install any available updates. Router firmware updates patch security vulnerabilities and can improve performance and stability. Some routers can be set to update automatically — enabling this where available is worthwhile. After updating, the router may restart; this is normal.
Connect Your Devices and Test
Reconnect your laptop, phone, and any smart home devices to your newly named network using your new password. Test the connection by loading a webpage and, if possible, run a speed test to confirm you're receiving speeds close to your plan's advertised rate. If speeds are significantly lower, try moving closer to the router or switching from 2.4 GHz to 5 GHz for nearby devices.
Label and Document Your Network Settings
Once everything is running, your next priority should be ongoing security. A guide to keeping your home network secure covers the practical habits worth building from day one.
Troubleshooting Common First-Time Problems
Even with a careful setup, a few issues come up frequently for first-time network builders.
- No internet after connecting everything: Confirm the ethernet cable is in the router's WAN port, not a LAN port. Restart both the modem and router in sequence — modem first, wait 60 seconds, then router.
- Can't reach the admin panel: Try the alternative default IP addresses (
192.168.0.1or10.0.0.1). Make sure you're connected to the router's network, not a neighbor's. - Slow speeds on Wi-Fi but not wired: Interference, distance, or device band selection is likely. Switch closer devices to the 5 GHz band and retest. For a structured approach to speed issues, the guide to diagnosing a slow internet connection walks through the full diagnostic process.
- Some devices won't connect: Older smart home devices often only support 2.4 GHz. Ensure that band is enabled and broadcasting separately from your 5 GHz network.
Factory Reset Erases All Your Settings
The content on this site is for informational purposes only and is not a substitute for professional advice. Always consult a qualified professional for guidance specific to your situation.