
Auto Basics

Getting Your Car Ready for a Long Road Trip

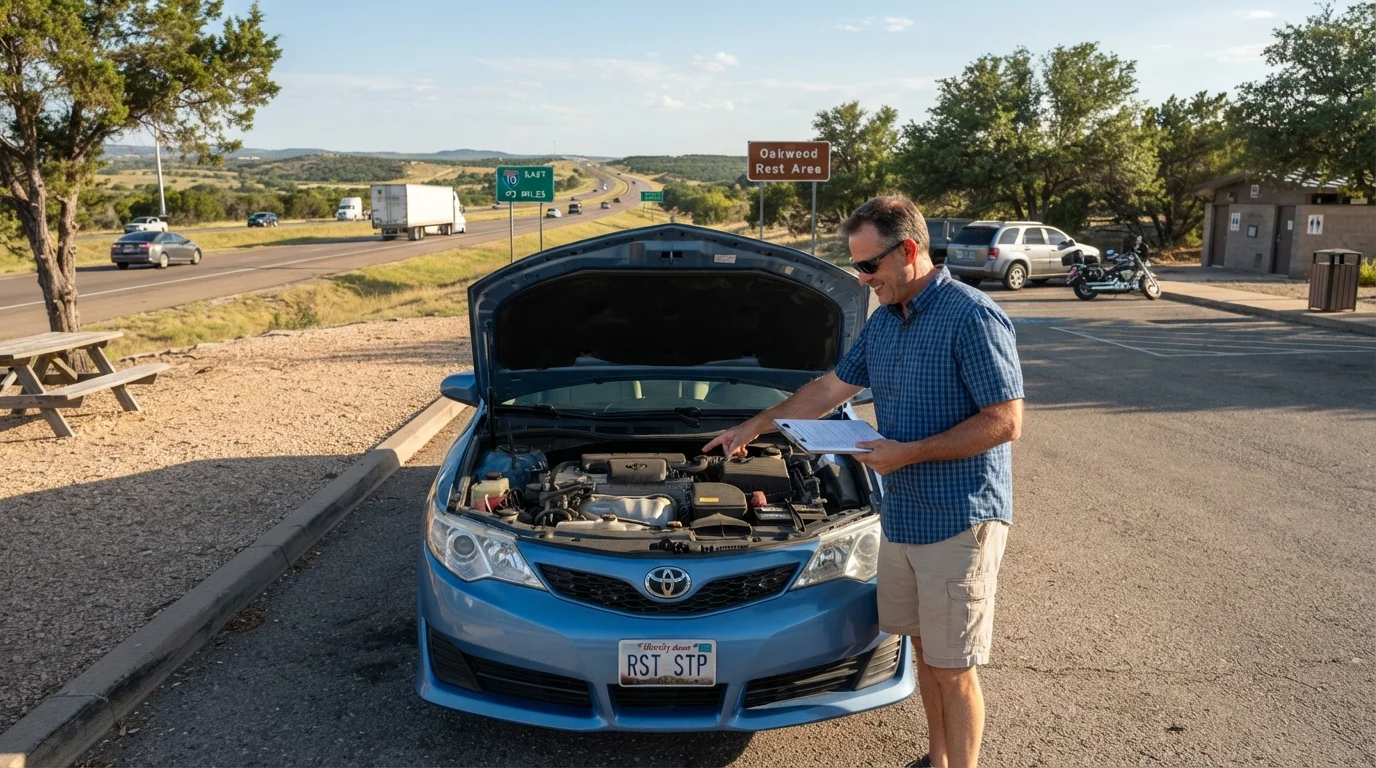
Getting Your Car Ready for a Long Road Trip

Photo: TargetReads.com | Explore Engaging Reads editorial

A practical pre-trip checklist covering fluids, tires, lights, and more — so you can focus on the drive, not roadside surprises.

Key Takeaways

  • Inspect tires, fluids, brakes, and lights at least a week before departure to allow repair time.
  • Your owner's manual specifies the correct fluid types and tire pressures for your exact vehicle.
  • A pre-trip inspection doesn't replace regular maintenance — it complements it.
  • Many checks can be done at home; others benefit from a professional mechanic's eye.
  • Packing an emergency kit is a simple, low-cost safety measure every driver should do.

Why a Pre-Trip Inspection Matters

A long drive puts significantly more demand on your vehicle than daily commuting does. Sustained highway speeds, temperature changes, and hours of continuous operation can expose weaknesses that short trips never reveal. The good news: most problems that strand drivers on the side of the road are preventable with a systematic check done a week or more before you leave.

This checklist is designed for everyday drivers — not mechanics. Most items require nothing more than your eyes, a flashlight, and a few minutes. For anything that looks off or unfamiliar, a visit to a trusted mechanic before your trip is always a sound decision. If you want to understand what to look for in your specific vehicle, reading your owner's manual is a genuinely useful starting point.

Time Your Inspection Wisely

Don't wait until the morning you leave to run through this list. Scheduling repairs — even minor ones — can take several days depending on parts availability and shop capacity. Complete your inspection at least five to seven days before your departure date so you have a realistic window to act on anything you find.

What You'll Need

Before working through the checklist, gather a few basic tools so you can complete each check properly.

Required

Tire pressure gauge

Accurately measures PSI in each tire so you can inflate to the manufacturer's specification.

Required

Flashlight or work light

Illuminates the engine compartment, undercarriage, and tire sidewalls for a thorough visual inspection.

Required

Owner's manual

Provides your vehicle's specific fluid types, capacities, belt replacement intervals, and tire pressure specs.

Required

Clean lint-free rag

Used to wipe the oil dipstick clean before getting an accurate reading.

Optional

Battery terminal cleaner brush

Removes corrosion from battery terminals to ensure a solid electrical connection.

Optional

Tread depth gauge

Gives a precise measurement of remaining tire tread in 32nds of an inch, more accurate than the coin method.

The Pre-Trip Checklist

Work through each group below in order. Completing them all a week ahead of your departure gives you time to schedule a repair without rushing.

Tires

Check tire pressure on all four tires (and the spare) using a gauge, and inflate to the PSI listed on the driver's door jamb sticker — not the number molded into the tire sidewall. Must
Inspect tread depth by placing a quarter upside down into the groove — if you can see the top of the head, the tire is likely worn and should be evaluated by a professional. Must
Look for cracks, bulges, or embedded objects (nails, screws) in the tire sidewalls and tread surface. Must
Confirm your spare tire is inflated and that your jack and lug wrench are accessible in the vehicle. Should

Fluids

Check engine oil level with the dipstick when the engine is cold; top off or schedule an oil change if you're within 1,000 miles of your interval. Must
Inspect coolant (antifreeze) level in the overflow reservoir and look for any signs of discoloration or oily residue, which can indicate a leak. Must
Check brake fluid level in the translucent reservoir under the hood; the fluid should be between the MIN and MAX markings. Must
Top off windshield washer fluid — you'll use far more than usual on a long highway drive. Should
Verify power steering fluid and transmission fluid levels if your vehicle uses serviceable reservoirs (consult your owner's manual for location and type). Should

Brakes and Belts

Listen for squealing, grinding, or pulsing when braking during a test drive — any of these signals warrants a professional inspection before departure. Must
Visually inspect serpentine and accessory belts for fraying, cracking, or glazing; a snapped belt on the highway can disable your vehicle entirely. Should
If your vehicle is due for a timing belt replacement based on mileage (check your owner's manual), schedule it before the trip rather than after. Should

Lights and Visibility

Test all exterior lights — headlights (low and high beam), taillights, brake lights, turn signals, reverse lights, and hazard flashers. Must
Replace any burned-out bulbs before leaving; many are inexpensive and straightforward to swap at home, though some vehicles require professional access. Must
Test windshield wipers on both speeds and replace blades that streak or skip — visibility in rain at highway speed is critical. Must
Clean the inside and outside of all windows to reduce glare and fatigue during long driving hours. Should

Battery and Electrical

Inspect the battery terminals for white or blue corrosion buildup; clean them carefully or have a shop do it if buildup is significant. Should
If your battery is more than three to four years old, have it load-tested at an auto parts store or mechanic — many offer this at no cost. Should

Emergency Kit

Pack a roadside emergency kit with jumper cables or a jump starter, reflective triangles or flares, a flashlight with fresh batteries, and basic first-aid supplies. Must
Keep a printed copy of your insurance card, roadside assistance number, and emergency contacts in the glove box — don't rely solely on your phone. Should
Add a jug of water, a blanket, and a portable phone charger in case you're stranded in a remote area for an extended period. Nice to have

When to See a Mechanic Before You Go

Some findings — grinding brakes, a warning light on the dashboard, a battery that struggles to start the car, or tires near the wear indicator — should not be deferred until after your trip. These aren't items to monitor; they're items to resolve. If your check engine light is on, have the fault codes read before departure. Driving hundreds of miles on an undiagnosed issue can turn a manageable fix into a major repair.

After the Checks Are Done

Once you've worked through the list, note anything that's borderline — low tread, a slightly dim headlight, a fluid near the minimum line. These may be fine for a short errand but are worth addressing before hundreds of miles on the road. When in doubt, a pre-trip inspection at a licensed mechanic's shop is money well spent. Many shops offer a multi-point inspection for a modest fee or sometimes at no charge.

If your trip doubles as a long-distance move, there are additional logistics to plan beyond vehicle readiness. Our stage-by-stage moving overview covers the broader picture. And for drivers who want to build these habits into their year-round routine, keeping your car in good shape over the long haul outlines the maintenance habits that add up over time.

Safe travels — and enjoy the drive.

Home & Autos Editorial Team

TargetReads.com | Explore Engaging Reads

Home & Autos Editorial Team is the collective byline for our editorial team and contributor network. Articles published under this byline or an editorial pen name are researched, written, and reviewed according to our editorial standards for clarity, consistency, and independence before publication.

Home MaintenanceAuto BasicsMoving & Renting
View author profile

The content on this site is for informational purposes only and is not a substitute for professional advice. Always consult a qualified professional for guidance specific to your situation.