
Roof Maintenance Done Right: Extending the Life of Your Shingles

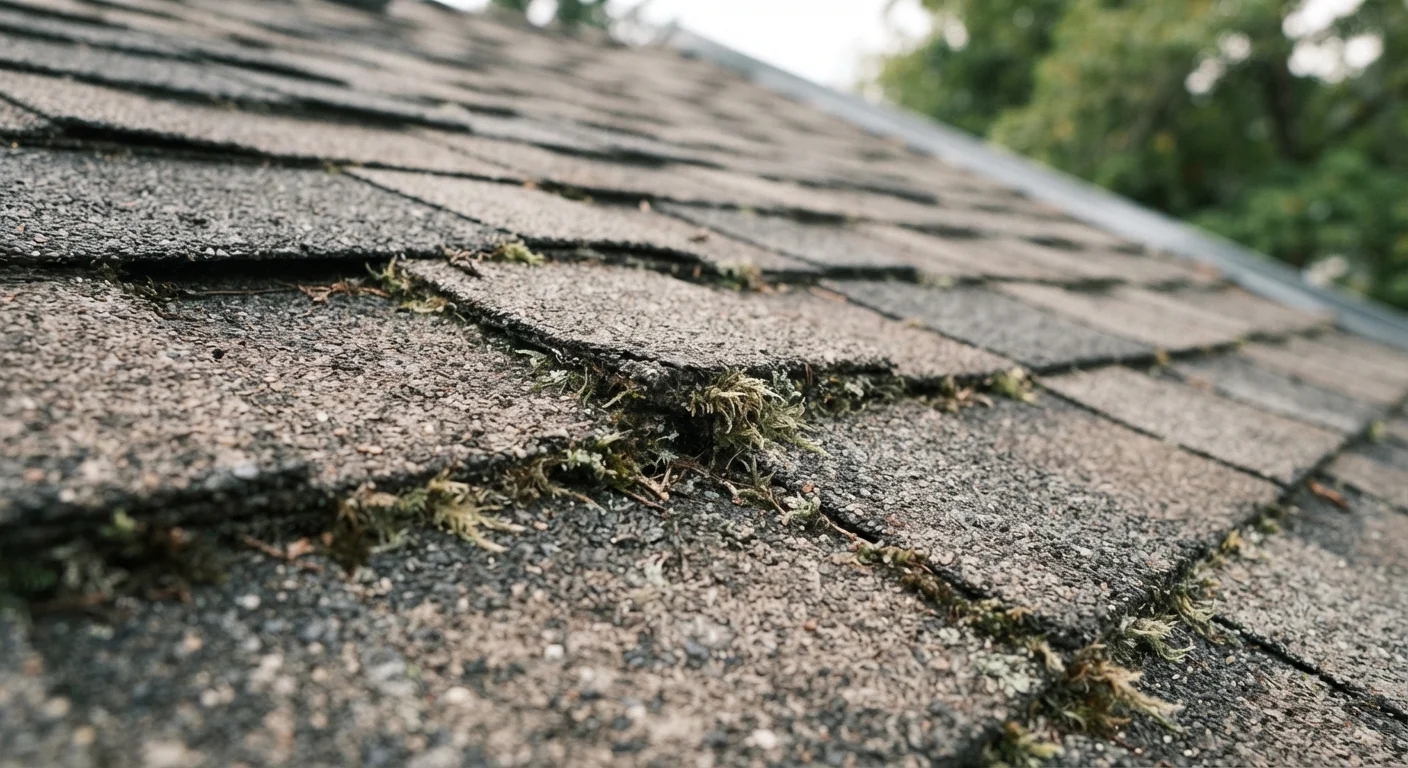
Photo: TargetReads.com | Explore Engaging Reads editorial
Key Takeaways
- Twice-yearly inspections — spring and fall — catch problems before they become costly repairs.
- Moss, algae, and debris trap moisture against shingles, accelerating premature deterioration.
- Gutters directly affect roof health; clogged gutters can back water under shingles.
- Many roof tasks are safely done from the ground using binoculars — limit ladder work.
- Flashing failures around chimneys and vents are a leading source of leak damage.
Why Roofs Fail Before Their Time
Most asphalt shingle roofs are rated to last 20–30 years, but a significant number are replaced well before that window closes. The culprit is almost never a single dramatic event — it's deferred maintenance. Small problems compound quietly: a handful of cracked shingles lets in moisture, moisture breeds mold and rot in the decking beneath, and a repair that might have cost a few hundred dollars becomes a multi-thousand-dollar replacement.
Understanding why roofs degrade is the first step toward preventing it. Shingles are designed to shed water, but they rely on intact granule coatings, properly sealed seams, and functioning drainage below them. When any of those elements fail, the entire system is compromised. See our seasonal maintenance calendar for a broader view of how roof checks fit into year-round home upkeep.
20–30 years
Typical lifespan of asphalt shingle roofs
Industry estimates suggest standard three-tab asphalt shingles last 20–25 years; architectural shingles are often rated for 25–30 years under normal conditions.
~40%
Of roof leaks traced to flashing failures
Roofing industry professionals commonly attribute a large share of residential leak calls to compromised flashing at roof penetrations and transitions.
Inspection Habits That Actually Work
Aim for two thorough inspections per year: once in early spring after winter stress, and once in late fall before freezing temperatures return. You do not need to climb on the roof for most of this — a pair of binoculars from the ground and a close look inside your attic will reveal the majority of developing problems.
From the ground, look for:
- Shingles that appear curled, buckled, or visibly missing
- Granule loss — shingles that look noticeably lighter or patchy
- Sagging areas, which may indicate weakened decking beneath
- Moss or dark algae streaks running down the slope
From the attic, look for:
- Daylight visible through the roof boards
- Staining or water marks on rafters and insulation
- A damp or musty smell, which often precedes visible water damage
Flashing — the thin metal strips sealing joints around chimneys, skylights, and vents — deserves special attention. Flashing failures account for a disproportionate share of interior leak damage. If flashing appears lifted, cracked, or rusted, consult a licensed roofing contractor before the next rain season.
Stay Safe: Limit Your Time on the Roof
Cleaning and Moss Control
Organic growth — moss, lichen, and algae — is more than cosmetic. Moss retains moisture against shingle surfaces for extended periods, softening the material and lifting edges over time. Algae (often the dark streaks you see on light-colored roofs) feeds on the limestone filler in asphalt shingles, degrading the granule layer.
For light algae streaking, a diluted solution of water and oxygen bleach applied with a low-pressure garden sprayer is a commonly used approach. Avoid power washing — the force strips granules and voids some manufacturer warranties. Rinse thoroughly to protect nearby landscaping.
For moss, zinc or copper strips installed near the ridge line release trace amounts of metal ions when it rains, which inhibit moss growth over time. This is a longer-term preventive measure, not an instant fix. Failing gutters compound this problem by keeping moisture levels near the eaves persistently high — address both systems together for best results.
Check Manufacturer Warranty Before Cleaning
Best Practices Worth Building Into a Routine
Trim overhanging tree branches back at least six feet from the roof surface.
Clear gutters and downspouts at least twice per year, more often if you have heavy tree cover.
Document your inspections with dated photos stored in a home maintenance folder.
After any significant storm, do a targeted visual check before your next scheduled inspection.
Ensure your attic has adequate ventilation to prevent heat and moisture buildup.
Combining these habits with a structured maintenance schedule makes them sustainable. For a broader look at which repairs are straightforward and which carry hidden complexity, see our article on DIY home repairs homeowners often underestimate.
Quick Actions You Can Take This Weekend
This article is for general informational and educational purposes only. Roof conditions vary by region, climate, material, and age. For any work involving significant height, structural concerns, or permit requirements, consult a licensed roofing contractor and verify local building code obligations before proceeding.
The content on this site is for informational purposes only and is not a substitute for professional advice. Always consult a qualified professional for guidance specific to your situation.