
How to Trim Your Own Hair at Home Without Regretting It

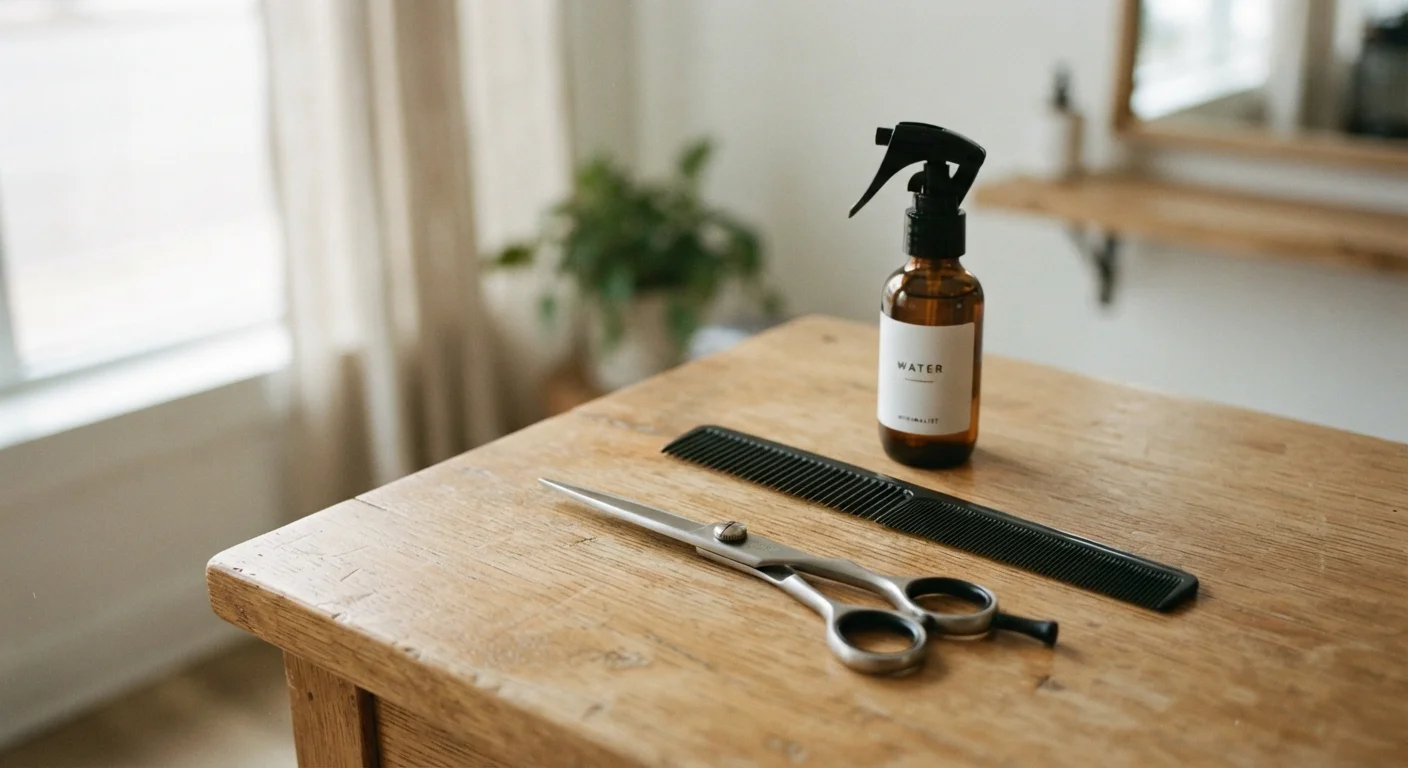
Photo: TargetReads.com | Explore Engaging Reads editorial
Key Takeaways
- Using the right scissors — not kitchen shears — is the single most important factor in a clean cut.
- Working with damp, freshly detangled hair gives you the most accurate, even results.
- Sectioning your hair before cutting prevents uneven lengths and removes guesswork.
- Trimming only small amounts at a time significantly reduces the risk of over-cutting.
- Knowing your limits is key — a simple dusting is very doable at home; major reshaping is not.
Why At-Home Trims Work — and When They Don't
A home trim is genuinely practical for one specific purpose: maintaining a style you already have. Removing split ends, keeping a blunt length fresh, or tidying a fringe are all well within reach for most people willing to take their time. These are also the kinds of maintenance tasks that, if skipped, tend to cause more breakage over time — so knowing how to handle them yourself is a useful skill.
What home trims are not suited for: creating a new shape, adding structured layers, or cutting around the face without prior experience. Those tasks involve understanding how hair behaves when it's dry versus wet, how much it will spring up based on texture, and how to account for growth patterns — knowledge that takes professional training to apply reliably. If you're aiming for a significant change, a salon visit is the right call. For everything else, read on.
For context on how trimming fits into broader hair health, the case for and against regular trims is worth understanding before you decide on your own schedule. And if scalp health is on your radar, scalp health basics are a great complement to any at-home hair routine.
Never Cut Dry, Unsectioned Hair
Tools You'll Need Before You Start
The difference between a clean trim and a regrettable one often comes down to whether you used the right scissors. This is worth saying clearly because it's the most commonly skipped step.
Kitchen Scissors Will Damage Your Ends
Hair shears (dedicated scissors)
Designed specifically for cutting hair to produce a clean, fray-free edge.
Fine-tooth comb
Used to section and smooth hair so each cut is even and controlled.
Spray bottle with water
Keeps hair consistently damp throughout the trim for accurate results.
Hair clips or elastic bands
Holds sectioned hair in place so you work on one area at a time.
Two mirrors (or a mirror plus phone camera)
Lets you check the back of your hair as you work to catch uneven sections.
Cape or old towel
Protects clothing from clippings and keeps the workspace tidy.
What you will need
Step-by-Step: How to Trim at Home
Follow these steps in order. Skipping ahead — especially past the sectioning stage — is where most at-home trims go sideways.
Wash and detangle your hair
Start with clean hair — product buildup or natural oils can cause sections to clump unevenly. After washing, gently detangle from ends to roots using a wide-tooth comb, then switch to a fine-tooth comb to smooth each section. Hair should be damp, not dripping wet, before you pick up the scissors.
Section your hair into manageable parts
Divide hair into at least four sections: two in front and two in back, separated by a center part top to bottom. Clip each section away and work on one at a time. For thicker or curlier hair, divide into more sections — six to eight is common. Rushing past this step is how one side ends up shorter than the other.
Decide exactly how much to remove
Before cutting anything, comb each section smooth and determine your trim line. A general guideline: remove no more than half an inch for a simple maintenance trim. Hold the hair between your index and middle fingers at the point where you plan to cut, keeping your fingers parallel to the floor for a blunt line or at a slight angle for soft layers.
Cut each section with clean, confident snips
Hold your shears vertically (point-cutting) for a softer, less blunt finish, or horizontally for a sharper, more defined line. Make clean cuts rather than sawing back and forth — one smooth close of the blade per snip. Work through each section systematically, comparing as you go by releasing adjacent sections and checking them side by side.
Check for evenness and make final adjustments
Release all sections and comb hair into its natural fall. Use a second mirror or your phone camera to inspect the back. Look for any sections that are noticeably longer or shorter and make conservative corrections — trim a little, check again. It is always easier to take more off than to deal with removing too much.
The Ponytail Trick for Long, Straight Trims
Once you're done, if your routine includes heat styling, check out heat styling without the damage to protect your freshly trimmed ends. And if you're building out a broader low-effort grooming routine, this head-to-toe grooming guide keeps it practical.
The content on this site is for informational purposes only and is not a substitute for professional advice. Always consult a qualified professional for guidance specific to your situation.